Contents8 sections
Every XSCACE system, from a single bedroom to a clubhouse gym, is put together the same way: planned in the simulator, wired in one of two signal chains, controlled from the app that matches the hardware, and calibrated with measurement. This is that method written down — the XSCACE installation workflow, and the reasoning behind each stage.
It exists because most audio problems are not equipment problems. They are a layout that was never predicted, a subwoofer that was never integrated, or a system nobody measured. Each stage below closes one of those gaps.
The signal chain
There are two chains, and which one applies depends on whether the speakers are passive or powered. Getting this right is the difference between a system that works and a box that cannot drive what is attached to it.
Chain one: streaming into a DSP amplifier
This is the full-fat version, used wherever passive architectural speakers and subwoofers are involved:
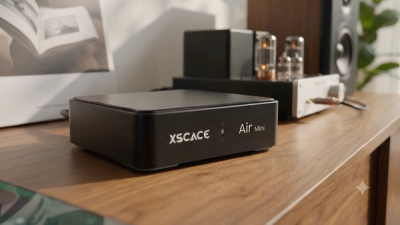
1. Source → amplifier, line level. An Air Mini or Air Amp handles AirPlay 2, Spotify Connect and Bluetooth. Air Mini in particular is a pure streaming preamp with no internal amplifier, so it hands a line-level signal onward rather than driving anything itself.
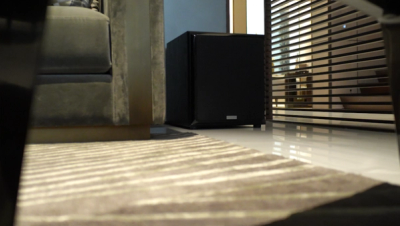
2. DSP amplifier → powered subwoofers, line level out. A powered subwoofer like Juniper brings its own amplification, so it takes a line feed and costs the amplifier no channels.
3. DSP amplifier → passive speakers, speaker level out. One channel per speaker, so each carries its own delay, level and EQ.
That third point is the one that gets compromised most often, and it is the one worth defending. Xylem 4 supplies 400W across 4 channels — 100W each, matched to QuadCane's 100W RMS rating. Four speakers on four channels can be aligned to the room individually. The same four paralleled onto one output can only ever be averaged.
Chain two: streaming amplifier straight to speakers
For one or two rooms of passive speakers with no subwoofer and no DSP requirement, Air Amp amplifies directly and the chain is simply source to speakers. It is the right answer when the room is small and the layout is simple — and the wrong answer the moment a subwoofer, a distributed array, or per-channel delay enters the picture.
Stage one: planned
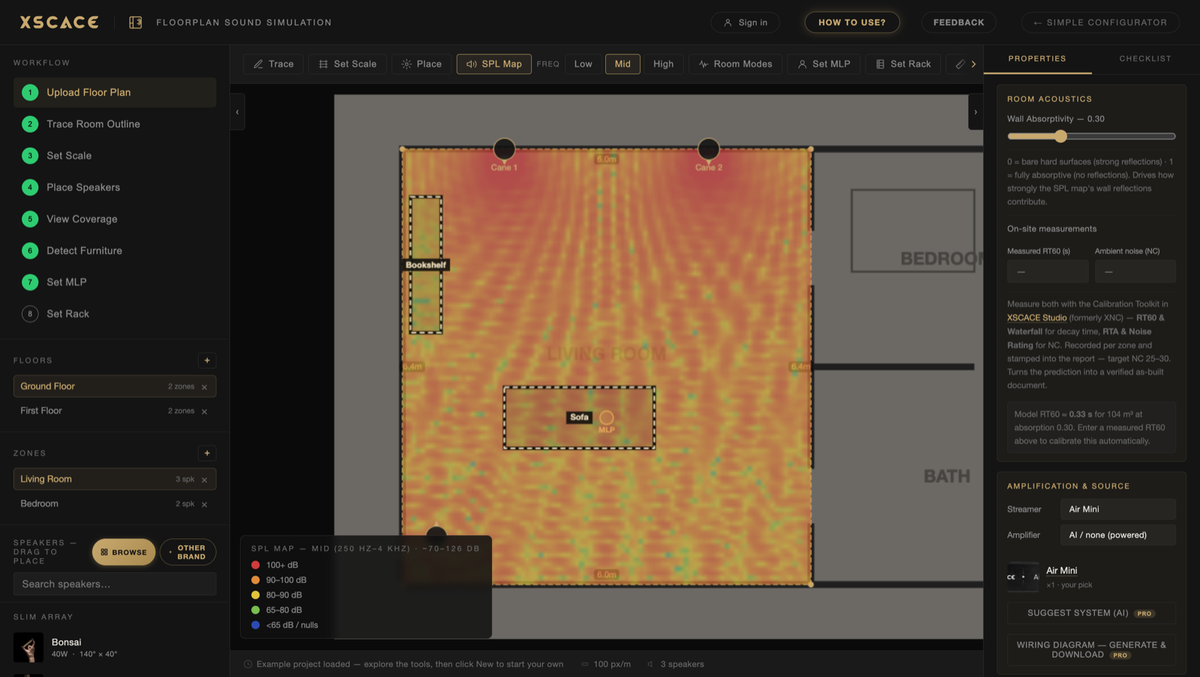
A layout should be proven before anything is ordered. XSCACE Floorplan Sound Simulation runs in the browser, free, with nothing to install: trace the plan, set the scale, place the speakers, and read what comes back.
SPL coverage predicted per zone, so the far corner is proven rather than discovered
Room modes flagged on the plan — uneven bass located instead of equalised away afterwards
First-reflection points marked, which decides placement more often than taste does
Full Dolby reference geometry checked speaker by speaker, where the room is a cinema
An automatic bill of quantities, an Excel quote that round-trips your prices, and a client-ready PDF
Other manufacturers can go on the plan too — the bill of quantities does not care whose speakers are on it. If you want the quoting side in detail, that is covered in how to build an audio BOQ.
Stage two: controlled
Two apps, split by hardware, and the split is worth stating precisely because it is the most common source of confusion:
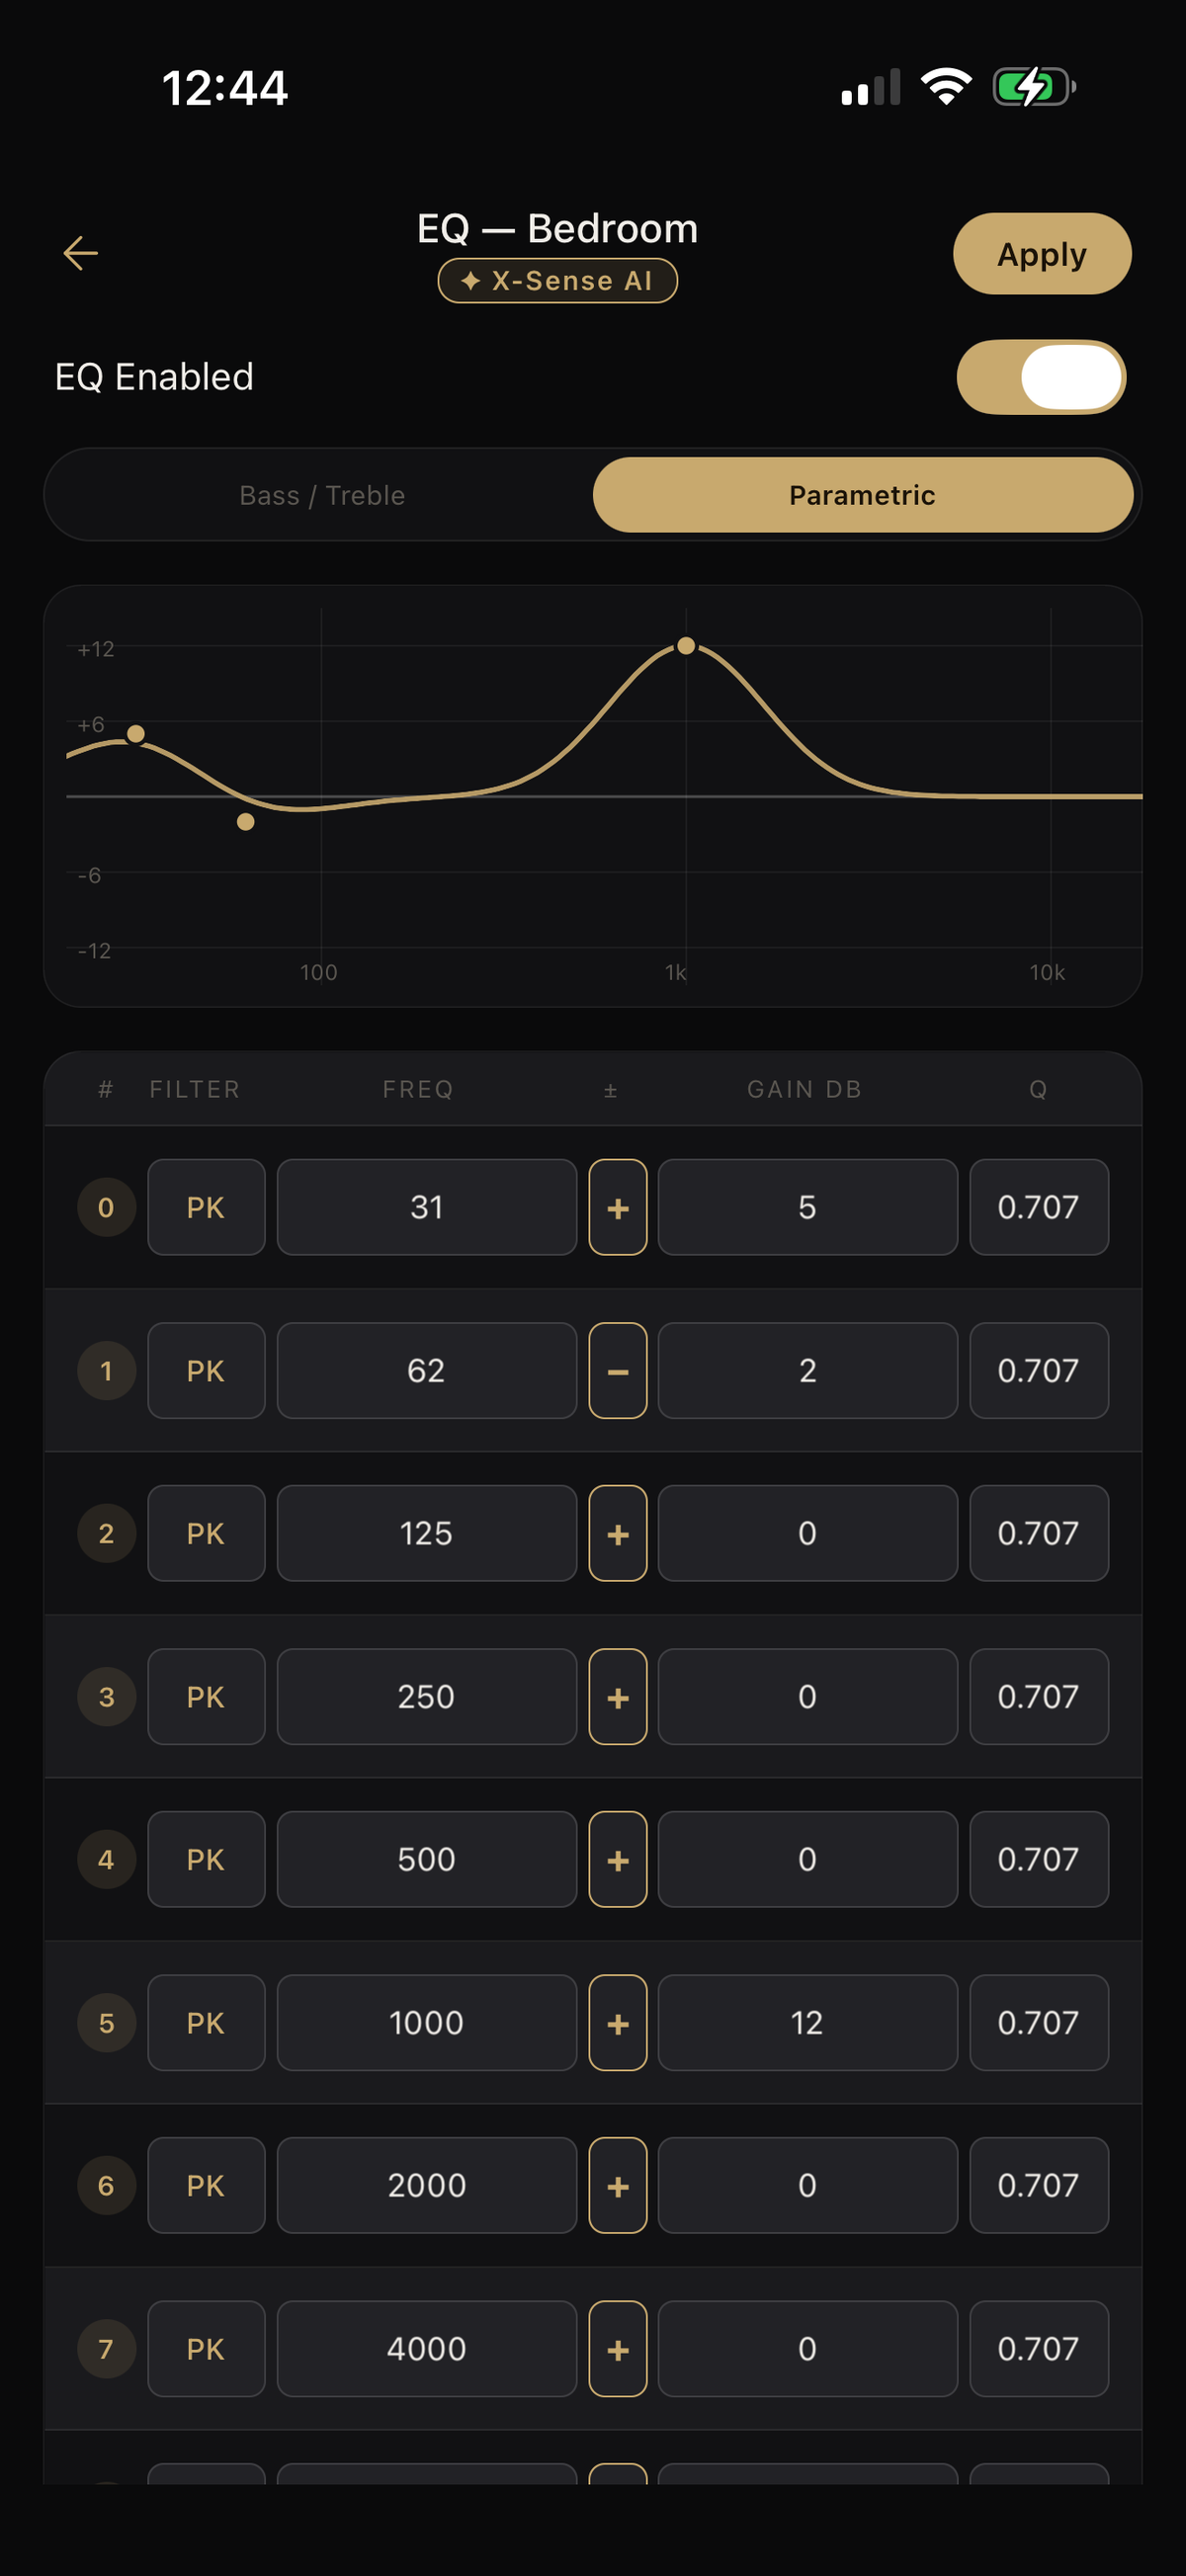
XSCACE Controller — iOS and Android, for the Air streaming amplifiers. Volume, EQ, grouping and permanent zones from a phone. Room correction here uses the phone microphone.
XSCACE Studio — macOS, for the Xylem, Root and Lucifer DSP amplifiers. Routing matrix, per-channel gain and delay, parametric EQ on inputs and outputs, Bessel / Butterworth / Linkwitz-Riley crossovers at 12–48 dB per octave, limiting and BTL bridging.
Windows installations already commissioned on XSCACE ROOTS DSP keep working — the DSP controls are identical, and the reason to move is the calibration toolkit rather than the amplifier settings.
Stage three: calibrated
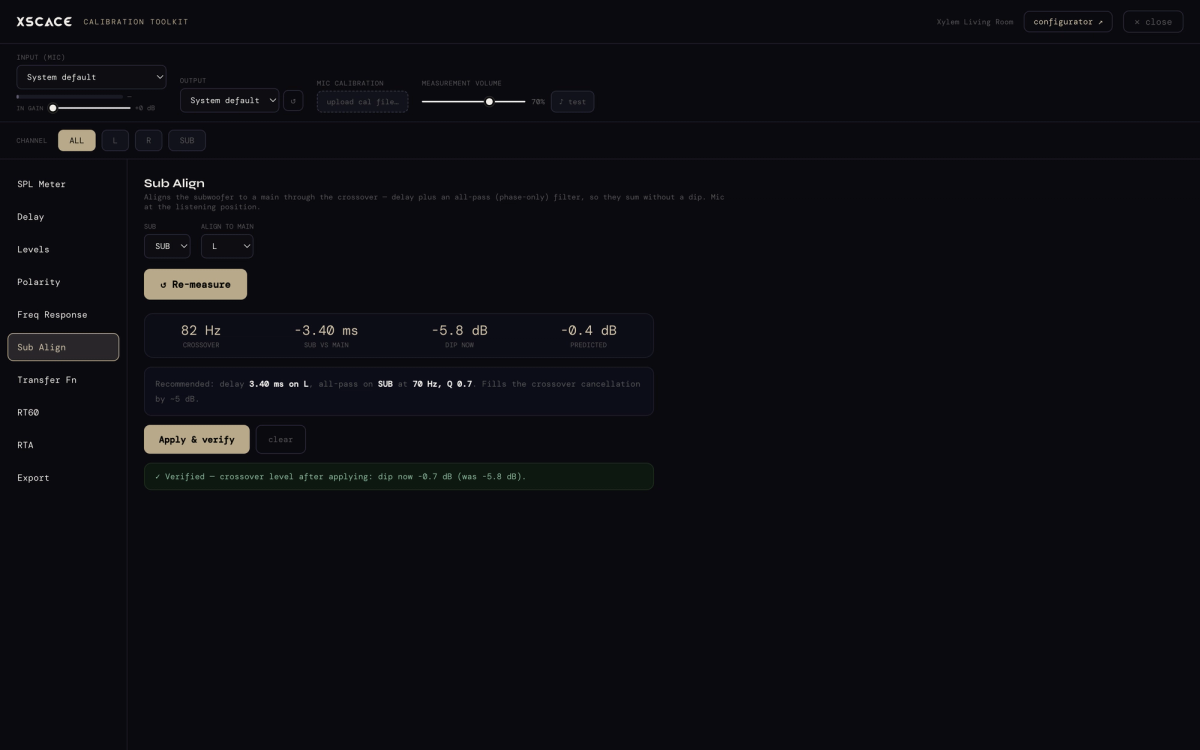
Prediction is a model. Calibration is what the room actually did. The toolkit inside XSCACE Studio is free on macOS and carries eleven instruments: SPL, delay, levels, polarity, frequency response, THD, sub alignment, transfer function, RT60, RTA and export.
One sweep per channel fills delay, polarity and frequency response together — roughly 27 seconds for three channels
Delay measurement agrees with REW to 0.01ms, and refuses rather than guesses when the signal-to-noise is too low
RT60 is aligned to ISO 3382; the RTA rates background noise from NC-15 to NC-65
THD is measured as H2+H3 across 30Hz–5kHz, gated against the measurement floor
Sub Align integrates the subwoofer deterministically, then re-measures to verify its own correction
Impulse responses export to WAV for REW or Smaart; sessions export to PDF or raw JSON
The measurement instruments work on any system the microphone can hear, regardless of whose amplifier is in the rack. The full instrument-by-instrument walkthrough is in the audio calibration software guide.
Stage four: verified
Calibration ends with the room measuring correctly. Verification ends with that being written down against a published standard, which is a different deliverable. CEDIA/CTA-RP22 defines four objective performance levels a room can be designed to; CEDIA RP-32, Audio System Measurement and Verification, defines the repeatable procedures for checking whether it reached one.
XSCACE Studio ends the pass on the RP32 verification checklist. Set the RP22 level the room was designed to and its volume, and every parameter is judged against RP22's table for that level — interchannel level and time, polarity, sub integration, background noise floor as an NCB rating, in-room bass extension, response below the transition frequency, early reflections against the direct sound, reflection decay time to ISO 3382-1 T20 — each row showing the measured value, the target, the instrument behind it and a plain pass or fail. The verdict is stated without softening, rows the version cannot test are marked not measured rather than assumed, and the whole checklist lands in the exported client PDF as its own section. The design prediction made at stage one now has a measured, standard-referenced answer at the end of it.
The XSCACE installation workflow, worked through one room
A clubhouse gym glazed on three sides, with a timber floor and no soft furnishing, runs four QuadCane slim arrays on the piers, one Xylem 4 driving them at one channel each, two Juniper powered subwoofers on the Xylem's line output, and an Air Mini as the source. Planned in the simulator because a fully reflective room is the last place to specify by eye; controlled from XSCACE Controller so staff never touch a rack; calibrated in Studio because RT60 and the noise floor are the numbers that decide whether it works. The full write-up is in the clubhouse gym case study.
Installed
The three stages exist to produce something specific on a wall. These two rooms are in the same residential development, specified the same way, and they show the two ends of the range — a large glazed gym and a small hard games room.
A glazed clubhouse gym
Four QuadCane slim arrays on the plaster piers between full-height glazing, one Xylem 4 driving them at one channel each, two Juniper powered subwoofers on the amplifier's line output, and an Air Mini as the source. At 21mm deep the speakers sit on the pier without projecting into a room people move through quickly.
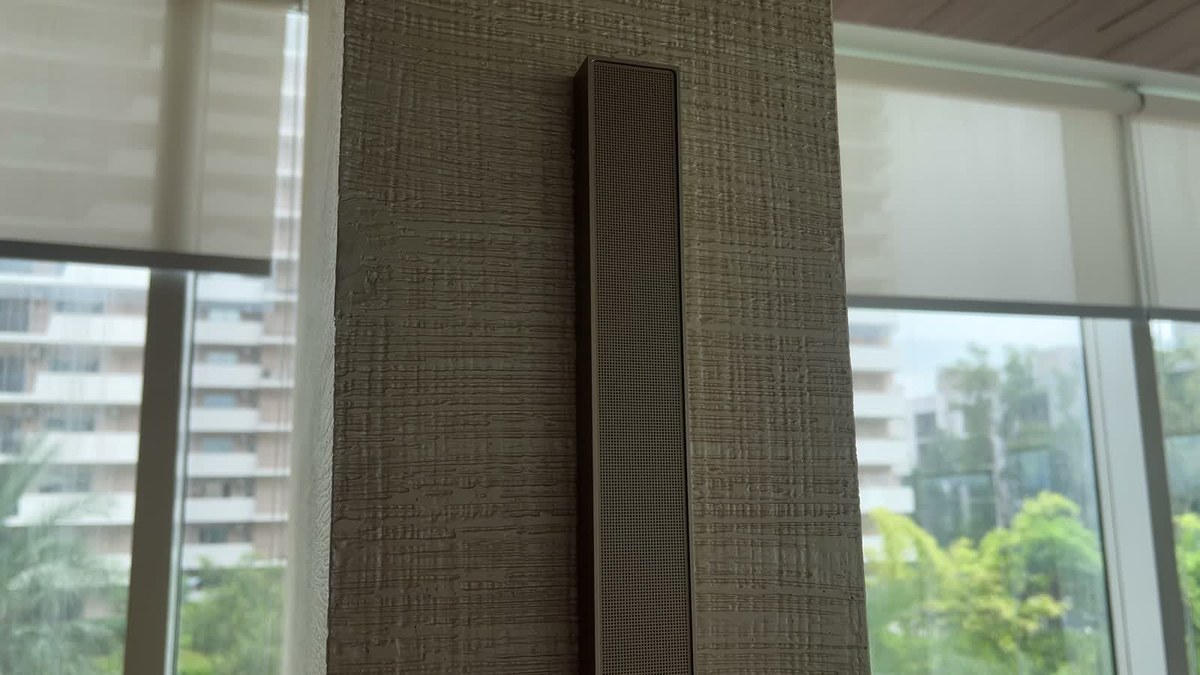
The full specification, and why two subwoofers rather than one, is in the clubhouse gym case study.
A clubhouse billiards room
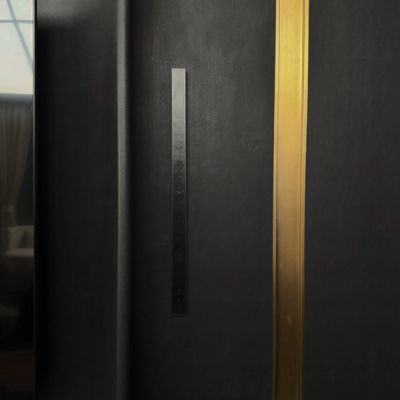
The same method at a smaller scale: Cane in white, distributed around the perimeter of a room whose middle is occupied by a table. At 183.5 × 43 × 23mm against textured plaster and painted brick, the speaker reads as a switch plate rather than as equipment — which in a shared amenity space is the specification decision, not an aesthetic one.
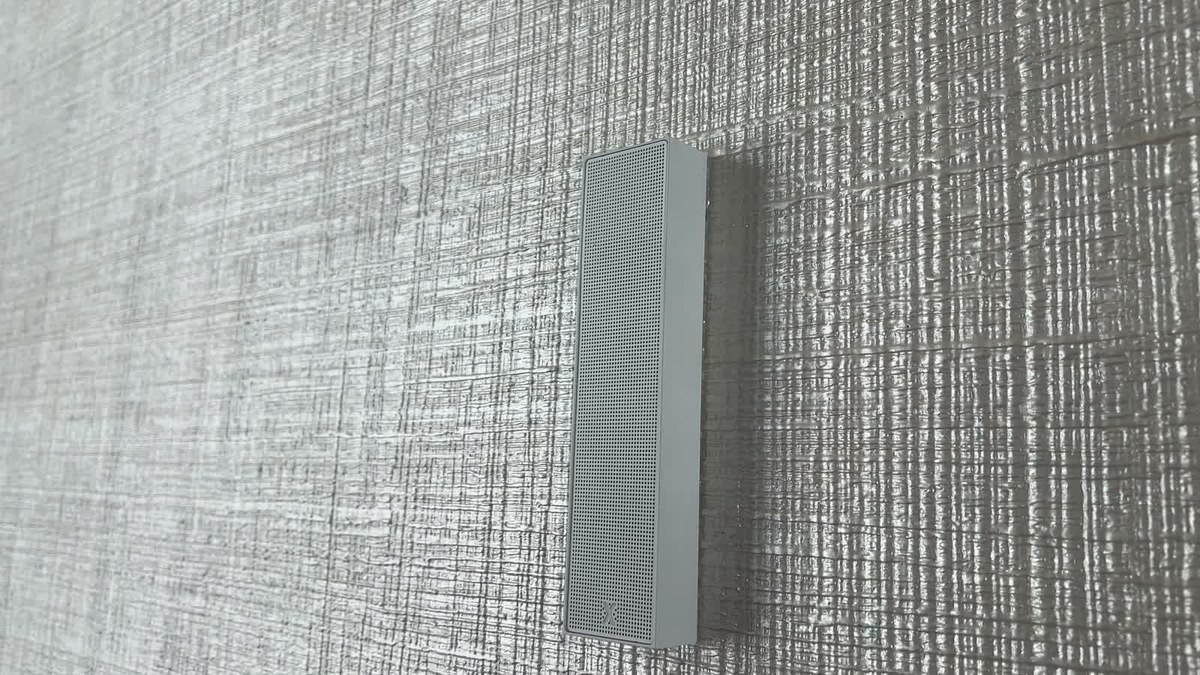
That room is written up in the clubhouse billiards case study.
Both rooms are hard-surfaced with no fixed listening position, and both were solved the same way: distribute the sources, give each its own amplifier channel, predict the coverage before ordering, and measure the result afterwards. The finishes differ; the method does not.
The method scales down as well as up: a clubhouse cafe on a distributed in-ceiling grid, book cafe running on 12mm-deep speakers with no bass at all were specified exactly the same way.
Why the order matters
The three stages are not interchangeable, and skipping one has a predictable cost. Skip planning and the layout is a guess that gets discovered at handover, when the ceiling is closed. Skip the control decision and someone specifies a phone app for a DSP amplifier it was never meant to configure. Skip calibration and there is no evidence — a client complaint stays subjective, and a subwoofer that was never integrated stays that way.
Done in order, each stage produces a document: a coverage plan and bill of quantities, a saved configuration, and a calibration report. Those three documents are what separate an installation from an argument.
The handover document that closes the workflow looks like this: a sample XSCACE Studio calibration report (PDF, 14 pages) — measurement results, applied tuning, CEDIA RP32 verification, assessment, room acoustics, graphs and the measurement method, generated in demo mode with synthesised figures.