How to design a home cinema room
The channel count comes from the room size, the speaker angles come from where people sit, and the ceiling height decides whether Dolby Atmos works at all. This is the geometry we specify against, with the numbers written down — then a planner that draws it for your actual room.
Put your room in, and see what it needs
Channel count, listening position, height-channel elevation and the room’s own resonant frequencies — worked out from the dimensions, using the same figures set out below.
Room size sets the configuration
Every layout decision follows from floor area. Adding channels a room cannot physically separate does not improve it — it just puts speakers closer together.
| Room | Dimensions | Configuration | Channels | Amplification |
|---|---|---|---|---|
| Small | 3 × 4 m (10 × 13 ft) | 5.1.2 | 5 ear-level + 2 height + 1 subwoofer | 7 amplifier channels |
| Medium | 4 × 6 m (13 × 20 ft) | 5.1.4 | 5 ear-level + 4 height + 2 subwoofers | 9 amplifier channels |
| Large | 6 × 8 m (20 × 26 ft) | 7.1.4 | 7 ear-level + 4 height + 2 subwoofers | 11 amplifier channels |
Slim array systems run a phantom centre. Where the left and right channels are slim arrays, the AVR centre channel is set to none — the arrays image dialogue precisely enough between them that a physical centre speaker adds nothing. In-wall three-way systems do use a dedicated centre.
Speaker placement geometry
Angles are measured from the primary listening position at seated ear height, roughly 1.1 m from the floor. Height channels must be in-ceiling — up-firing modules and on-wall substitutes do not reproduce the overhead layer accurately.
| Channel | Height | Angle | Distance |
|---|---|---|---|
| Front left / right | Tweeters at seated ear height — 0.9–1.1 m from the floor | 22–30° toe-in toward the listening position | 1.8–2.4 m apart (small) · 2.4–3 m (medium) · 3–3.6 m (large) |
| Height (Atmos) | In-ceiling only — never on-wall or up-firing | 30–55° elevation measured from seated ear height | 0.9–1.5 m forward of the seat; rear pair 0.9–1.5 m behind |
| Side surrounds | 0.6–0.9 m above seated ear height | 90–110° from the centre axis; tweeters aimed 15–20° inward | 1.2–1.8 m from the listening position |
| Rear surrounds (7.1.x) | Level with the side surrounds | 135–150° from the centre axis | 1.2–1.8 m apart |
Subwoofer placement
One subwoofer in a small room, in a corner or offset along the front wall — never the room centre, where it excites the worst of the room modes. Medium and large rooms take two, placed asymmetrically: one front corner and one rear side wall, which breaks up standing waves.
Confirm the position with a subwoofer crawl. Put the subwoofer on the listening seat, play bass-heavy material, then move around the room perimeter at ear height. Wherever the bass sounds smoothest is where the subwoofer goes.
Ceiling height decides whether Atmos works
This is the constraint most often discovered too late. Height channels need a 30° minimum elevation from seated ear height; below a certain ceiling that angle is geometrically unavailable, whatever speaker is specified.
| Ceiling height | Verdict | Why |
|---|---|---|
| Below 2.3 m (7.5 ft) | Not viable | Height channels cannot reach the 30° minimum elevation, so the overhead layer fails to localise. |
| 2.3–2.7 m (7.5–9 ft) | Workable | Roughly 35° elevation at 1.5 m forward placement. Acceptable, not ideal. |
| 2.7–3.6 m (9–12 ft) | Optimal | 40–50° elevation with clean separation between the ear-level and height layers. |
| Above 4.2 m (14 ft) | Compromised | Ceiling speakers sit too far away. Use on-wall angled down 30–45°, or higher-sensitivity models. |
Choosing speakers by role
Sensitivity matters more than power for cinema duty — a more sensitive speaker reaches reference level on far less amplification. Surrounds run well below the front stage, so they do not need to match it for output, only for timbre.
QuadCane
Reference cinema output from a 21 mm profile. The sensitivity is what carries dialogue and dynamics at reference level.
Cane
Timbre-matched to QuadCane at lower output, which is all a surround channel needs — surrounds run well below the front stage.
Ghost 2.0
Where the ceiling has to stay visually clean. A rectangular cutout also fits between joists more easily than a circular one.
Aspen 6
The standard choice where a visible grille is acceptable. In an overhead role it performs the same job for considerably less.
Oak
For dedicated rooms with a physical centre channel and separate power amplification.
Juniper
One in small rooms, two placed asymmetrically in medium and large rooms.
Confirm the void before specifying anything recessed. A standard 2×4 timber stud gives about 89 mm of cavity, which is too shallow for most in-wall models. Check the required cavity depth above against what the building actually has, and allow another 13 mm for cable and ventilation.
Acoustic treatment
Treatment does more for a cinema than upgrading speakers does. Absorb the first reflection points — the side walls between the front speakers and the seat, and the ceiling between the height channels and the seat — then treat the rear wall with a broadband absorber or diffuser.
Target an RT60 of 0.3–0.5 seconds. If low-frequency decay runs beyond 0.6 seconds, add bass traps in the corners. RT60 is measurable with XSCACE Studio, so this is a number to verify rather than estimate.
What a cinema room costs
Bands for the complete system — speakers, amplification and subwoofers. Pricing for a specific room comes from your integrator, who accounts for the building, the cabling and the install.
| Band | Range | What it typically covers |
|---|---|---|
| Entry | $5K – $15K | A living-room 5.1.2 built around slim on-wall arrays and a single subwoofer. |
| Mid | $15K – $40K | A dedicated 5.1.4 room with four in-ceiling height channels and dual subwoofers. |
| High End | $40K – $100K | A 7.1.4 cinema with in-wall LCR, separate power amplification and acoustic treatment. |
| Ultra Premium | $100K + | Reference 7.1.4 with flagship in-wall three-ways, dual amplifiers and full room design. |
Five mistakes that are expensive to reverse
Ordered by what they cost to put right. Every one of these gets corrected on site more often than it should, and four of the five are decided before a speaker is even delivered.
Cutting the holes before checking the void
The most expensive mistake on the list, because it is discovered after the ceiling is closed. A standard 2×4 timber stud gives roughly 89 mm of usable depth — too shallow for most recessed models, and nowhere near the 200 mm Ghost 2.0 needs. Joist positions matter as much as depth: letting the joists dictate where speakers land, rather than the geometry, is how height channels end up in the wrong place permanently. Confirm depth and joist centres, then cut.
Using ordinary in-ceiling speakers as height channels
A conventional in-ceiling speaker fires straight down. Sitting five or six feet away from one puts you well outside its on-axis window, so the overhead layer arrives dull and smeared with the high-frequency detail missing — which reads as "Atmos does not work in this room" rather than as a placement fault. Height channels want either a wide-dispersion driver or an aimable tweeter pointed at the seats.
Treating every room as the same geometry
A 3.6 m wide room and a 5.5 m wide room do not take the same height placement, and copying a layout between them is one of the most common causes of a system that measures fine and sounds wrong. Elevation angle is the number to hold constant — 30–55° from seated ear height — not the distance in metres. Recalculate per room.
Mounting the bed layer too high
Side and rear surrounds belong 0.6–0.9 m above seated ear height. Pushed higher — usually to clear furniture or to line up with a ceiling detail — they start competing with the height channels, and the vertical separation Atmos depends on collapses. Worth checking before any height channel is cut in: if existing surrounds are already near the height positions, the cheaper fix is to repurpose them as heights and install new surrounds at ear level.
Cable and amplifier mismatches inside the wall
Two failures that are hard to reverse. First, speaker cable run inside a wall or ceiling must be rated for in-wall use — CL2 or CL3 — and non-rated cable is a fire risk as well as a code failure, so it means opening the wall again. Second, check impedance before choosing the amplifier: Ghost 2.0 and Oak are 4 Ω while most of the range is 8 Ω, and an amplifier picked on wattage alone will be wrong for them.
The planner, end to end
Tracing the room, setting the scale, placing speakers to the geometry above, and exporting the bill of quantities your integrator quotes from.
Rooms we have designed
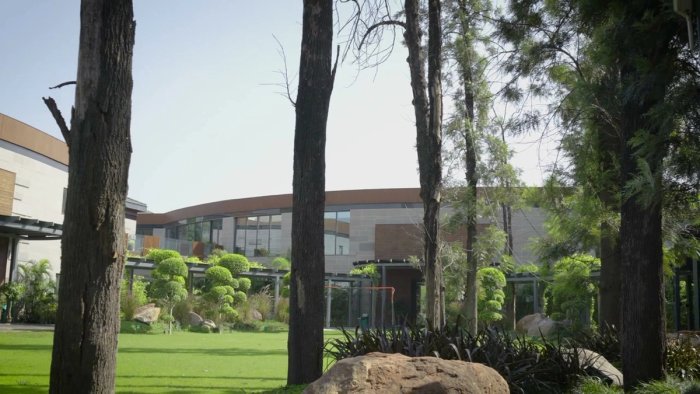
Case Study: A Whole-Home System Across Nine Zones
Nine zones in one house — a reference cinema in a curved acoustic shell, a living room whose marble could not be cut, a pool terrace built for a crowd — designed in one model before a wall was closed, then measured against it.
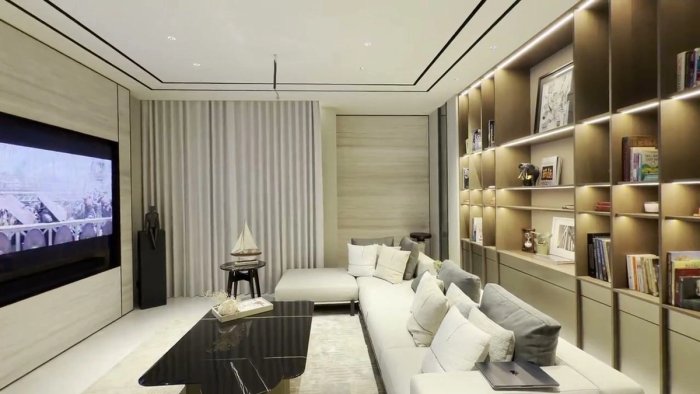
Case Study: A 5.1.2 Media Room Sound System With a Custom LCR Soundbar
Three channels from a custom bar built to the width of the recess, two Canes in the shelf line, two Ghosts overhead and one powered Acacia 10 — seven channels driven by a seven-channel receiver, with nothing spare.
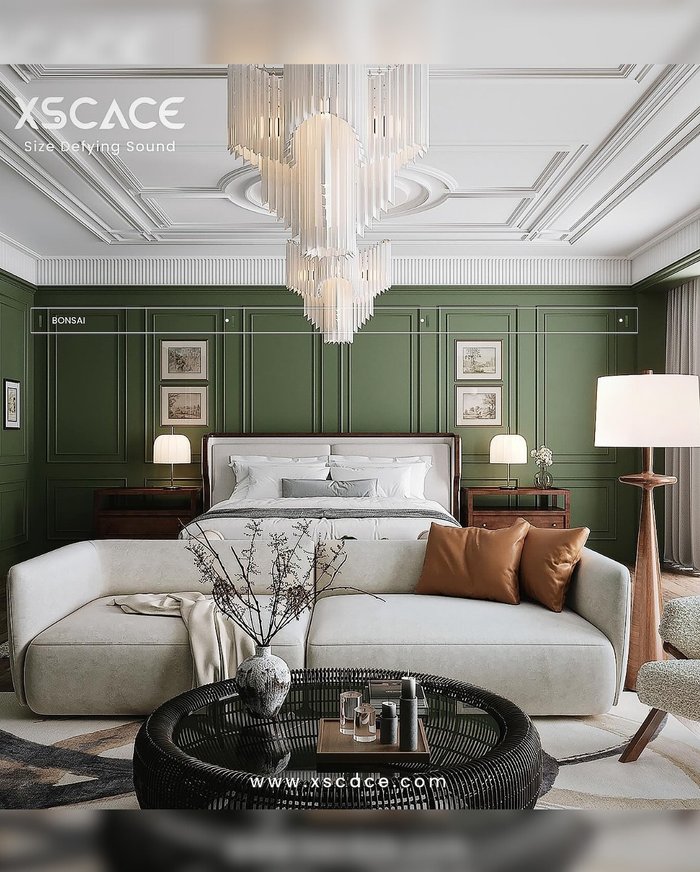
Case Study: Discreet Cinema Sound in a Master Bedroom
How a 16x14ft master bedroom got private, room-filling sound with speakers you can't see — XSCACE Bonsai, Air Amp and Acacia 6, and why the world's thinnest speaker was the only real option here.
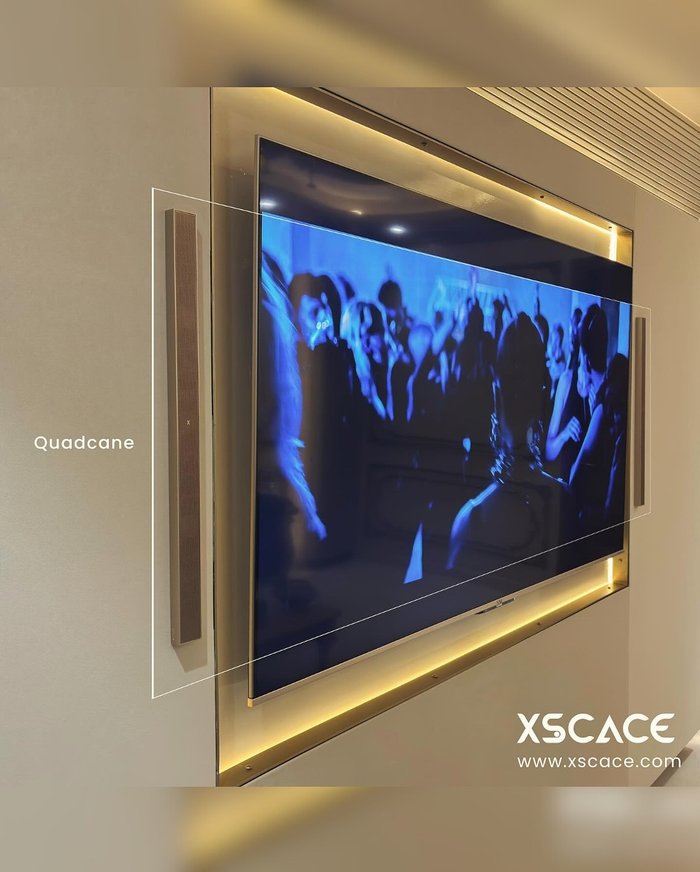
Case Study: Cinematic Sound in a Media Lounge
How a 20x15ft lounge got cinematic clarity for movies and music without disrupting its sleek modern design — XSCACE Quadcane, Juniper subwoofer and a Lucifer amplifier, wall-mounted beside the TV.
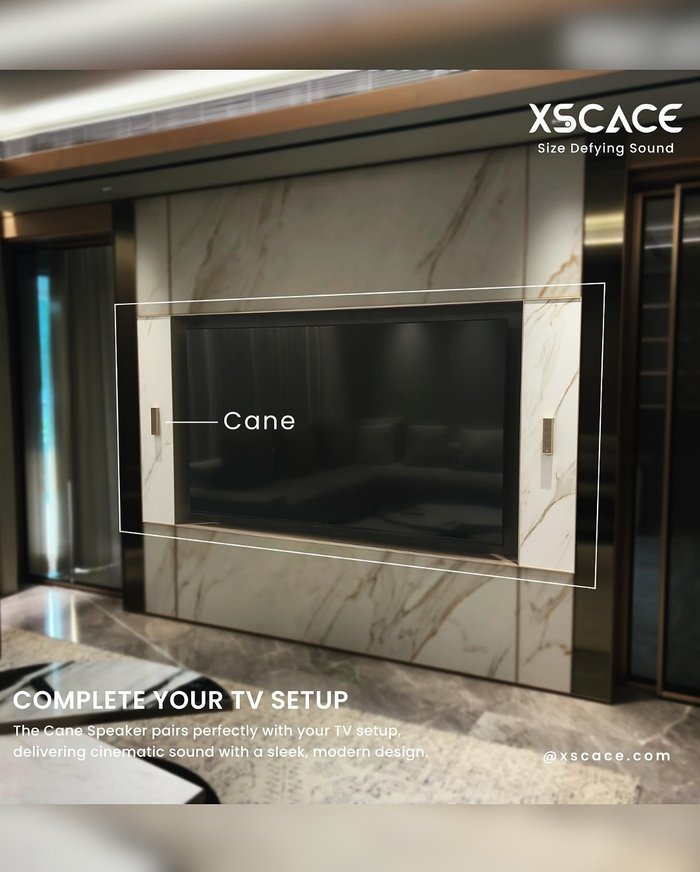
Case Study: Cinematic Sound in a Media Zone, Marble-Integrated
How a 14x12ft media zone got a visually clean TV wall with speakers embedded in marble paneling either side of the screen — XSCACE Cane, Air Amp and Acacia 10.
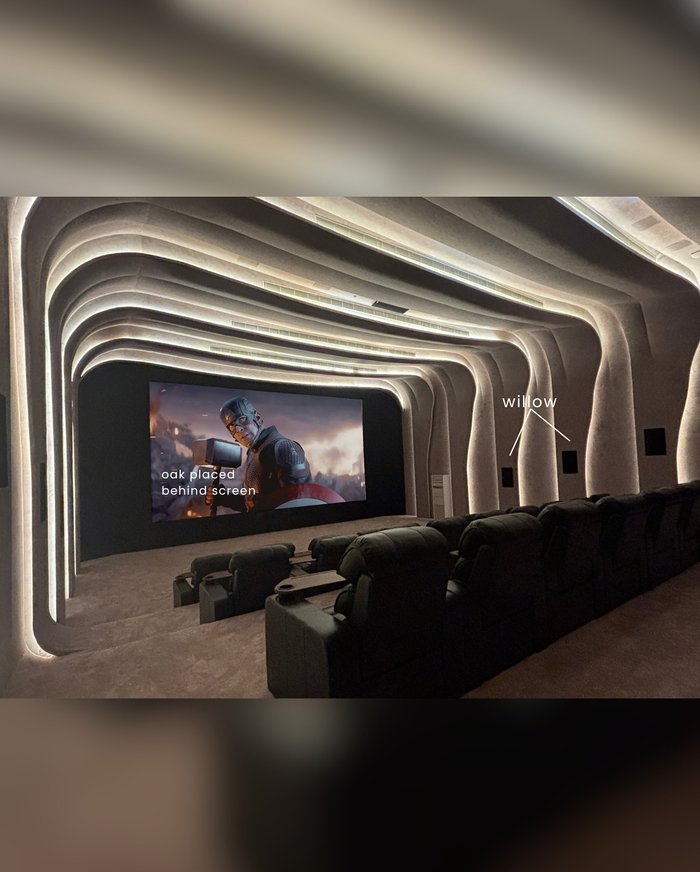
Case Study: A 50×40ft Private Home Cinema
How a full-scale private home cinema got theater-grade surround sound — XSCACE Oak behind the screen, Willow on the side and back walls, four 18-inch subwoofers, and a Root 4 amplifier.
Common questions
Frequently asked questions8 answers
How many ceiling speakers do I need for a home theater?
Two for a 5.1.2 layout in a small room, four for 5.1.4 or 7.1.4 in a medium or large room. Two height speakers sit 0.9–1.5 m in front of the listening position; in a four-speaker layout the second pair sits the same distance behind it.
Can I use in-ceiling speakers for Dolby Atmos?
Yes — in-ceiling speakers are the correct choice for Atmos height channels. They need to sit at a 30–55° elevation angle from seated ear height. Up-firing modules and on-wall speakers do not reproduce the overhead layer accurately and should not be substituted.
What ceiling height do I need for Dolby Atmos?
A minimum of 2.3 m (7.5 ft), because below that the height channels cannot reach the required 30° elevation. Between 2.7 m and 3.6 m is optimal. Above 4.2 m the ceiling speakers are too distant and on-wall speakers angled downward work better.
How much does a home cinema cost?
Systems fall into four bands: entry ($5K–$15K) for a living-room 5.1.2, mid ($15K–$40K) for a dedicated 5.1.4, high end ($40K–$100K) for a 7.1.4 with separate amplification, and ultra premium ($100K+) for reference builds. Pricing for a specific room comes from your local integrator.
Do I need a centre speaker in a home cinema?
Not always. Systems built on slim array speakers run a phantom centre — the AVR centre channel is set to none, and the left and right arrays image dialogue precisely between them. Systems built on in-wall three-way speakers do use a dedicated physical centre.
Where should the subwoofer go in a cinema room?
In a small room, one subwoofer in a corner or offset along the front wall — never the room centre. In medium and large rooms use two placed asymmetrically, one front corner and one rear side wall, to break up standing waves. The subwoofer crawl confirms the position: place the subwoofer at the listening seat, play bass-heavy material, and move around the perimeter until the bass sounds smoothest.
What acoustic treatment does a home cinema need?
Absorption at the first reflection points on the side walls and ceiling between the speakers and the seat, plus a broadband absorber or diffuser on the rear wall. Target an RT60 of 0.3–0.5 seconds; add corner bass traps if low-frequency decay exceeds 0.6 seconds.
How far should seating be from the screen?
Seat position is set by the speaker layout as much as the screen. Place the primary seat so the front left and right speakers form a 22–30° toe-in toward it, with side surrounds 1.2–1.8 m away at 90–110° off the centre axis, and avoid seating against the rear wall where bass builds up.
Draw it for your room
The planner traces your floorplan, places the speakers to the geometry above and produces a bill of quantities. Your integrator takes it from there.