Contents6 sections
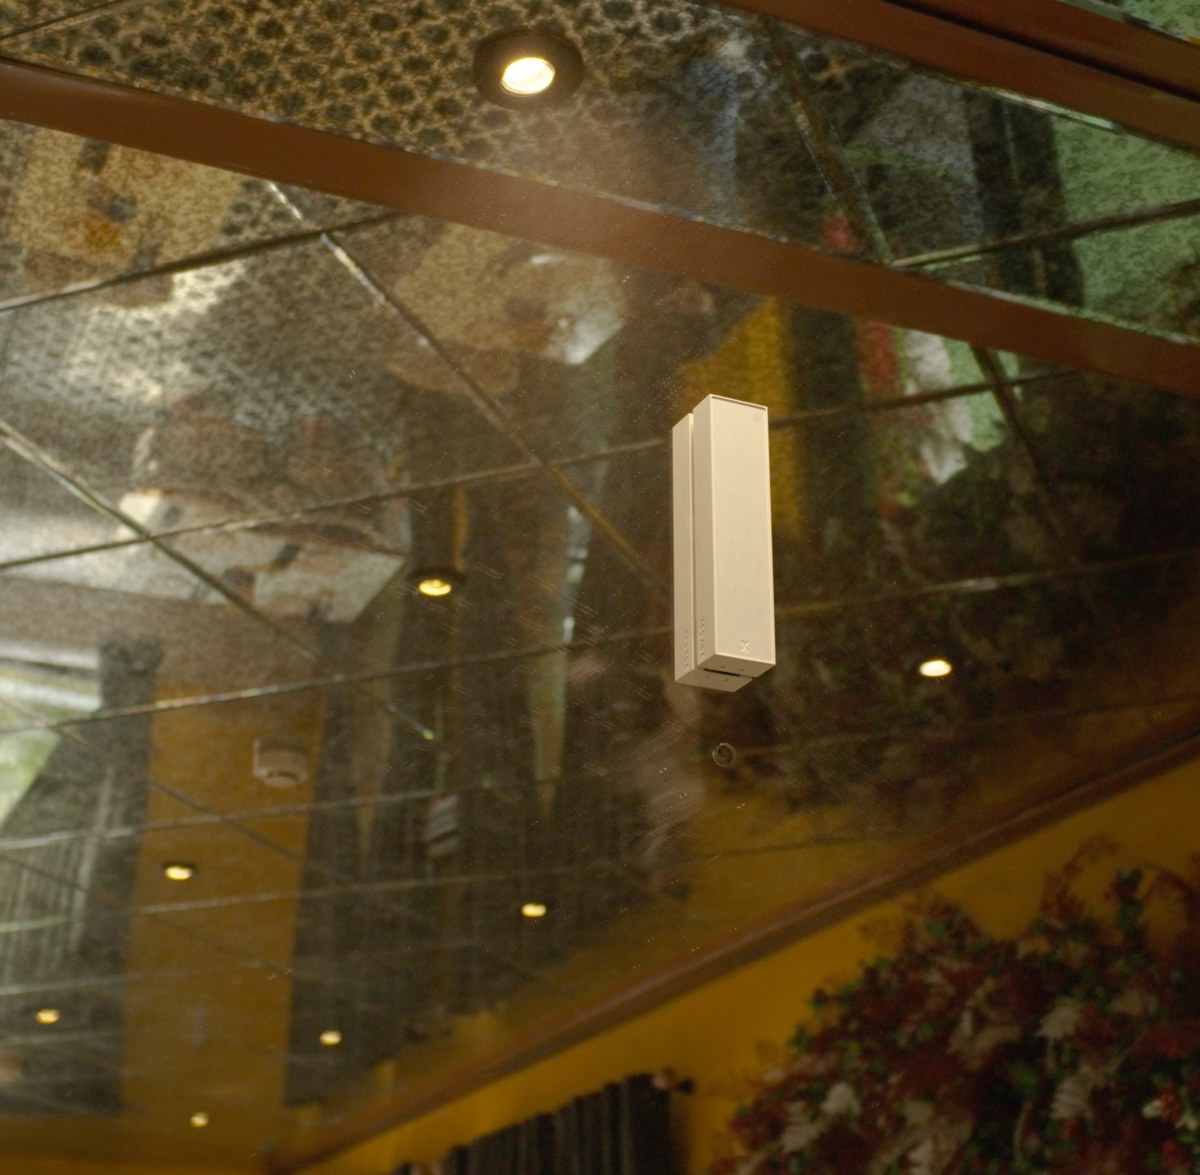
Most architectural speaker installs are wall-mounted, but a cocktail bar with a mirrored, mosaic-tiled ceiling over the back bar presented a different opportunity: mounting Cane flush to the mirrored ceiling panel itself, angled down toward the bottle display and bar top below. It's an unconventional placement, but one that let the design keep every wall clear for the bar's own mirrored and lit shelving.
Case Study at a Glance
- Zones: bar ceiling, outdoor terrace, private dining booth
- Product: Cane (23mm slim-array, IP66)
- Mounting surface: mirrored mosaic-tile ceiling + patio heater pole + painted wall
- Finish: cream aluminium
- Goal: one consistent audio system across three different hospitality zones
Ceiling mounting and directivity
Mounting a speaker to a ceiling rather than a wall changes its directivity relationship to the listening area — a ceiling speaker aimed down disperses across a wider horizontal area below it than the same speaker aimed across a room from a wall. That wider dispersion pattern suited this bar's layout, where guests are seated below the mirrored ceiling section in multiple directions rather than facing one direction as they might in a living room.
Why the ceiling, not the wall
The back bar's walls were already fully committed to bottle displays and backlit shelving — there was no wall real estate left that wouldn't obstruct the visual merchandising the bar was designed around. The mirrored ceiling, largely empty of other fixtures, became the practical mounting surface instead.
From ceiling to terrace to booth
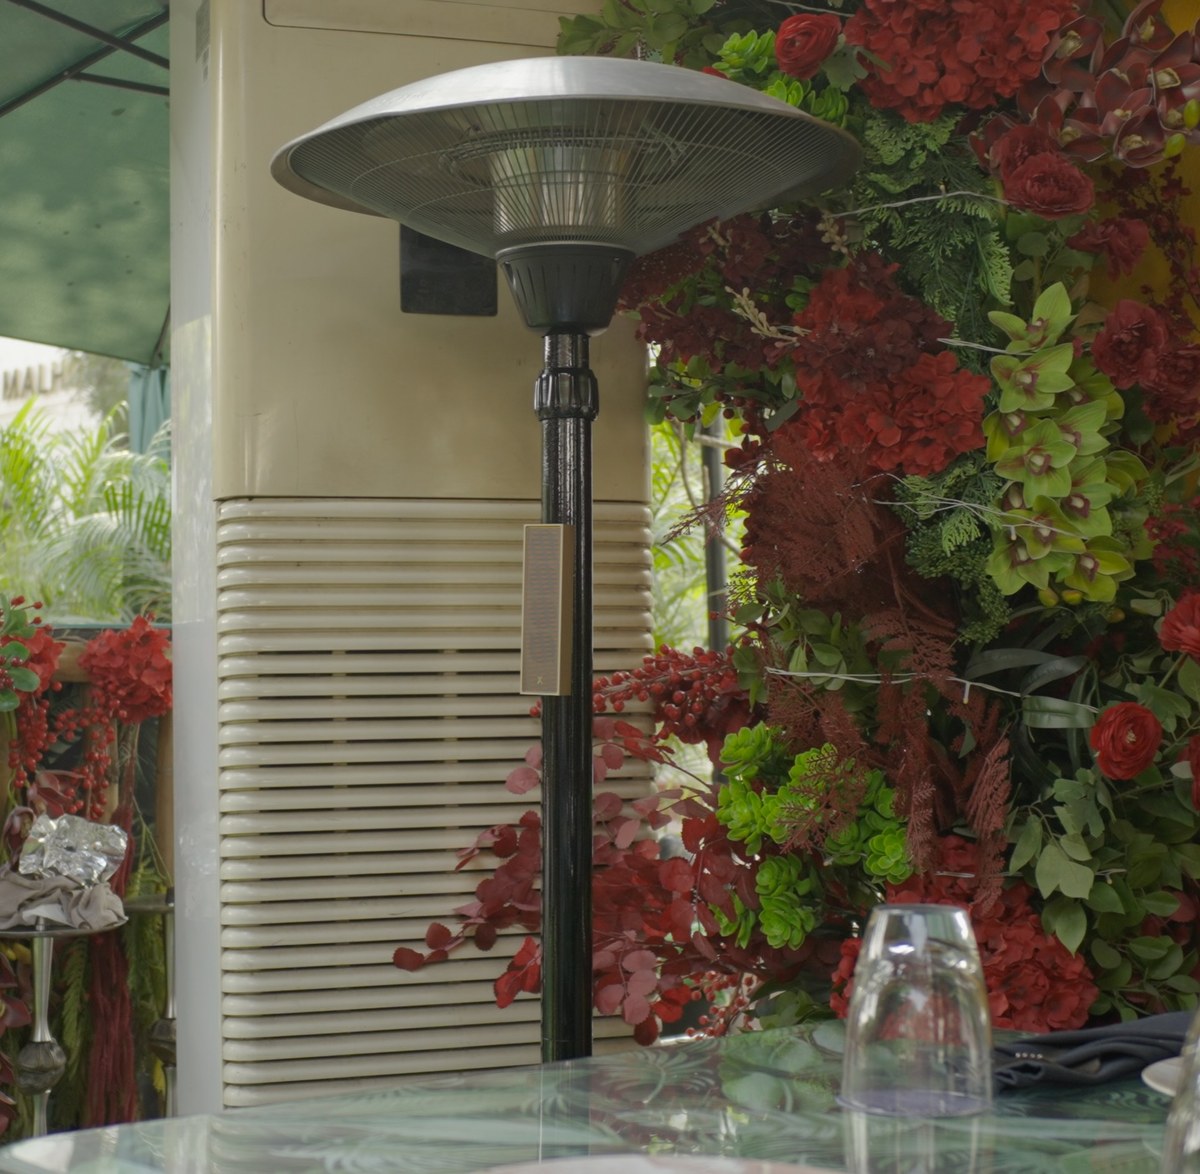
The same install extended outdoors to a restaurant terrace, with a cream-finish Cane mounted on a patio heater pole beside an artificial floral wall, and into a private dining booth on a saffron-painted wall — three distinct zones, one speaker line, letting the venue run a single consistent audio system across very different design moments.
The system
An Air Amp powers the array across zones, with an Acacia 10 Powered subwoofer providing low-end support for the bar and terrace areas during service.
How this room was planned, controlled and calibrated
Every XSCACE installation follows the same three stages: planned in the simulator, controlled from the app that matches the hardware, and calibrated with measurement. A commercial room is judged on consistency — the table by the window should hear what the table by the bar hears.
Planned
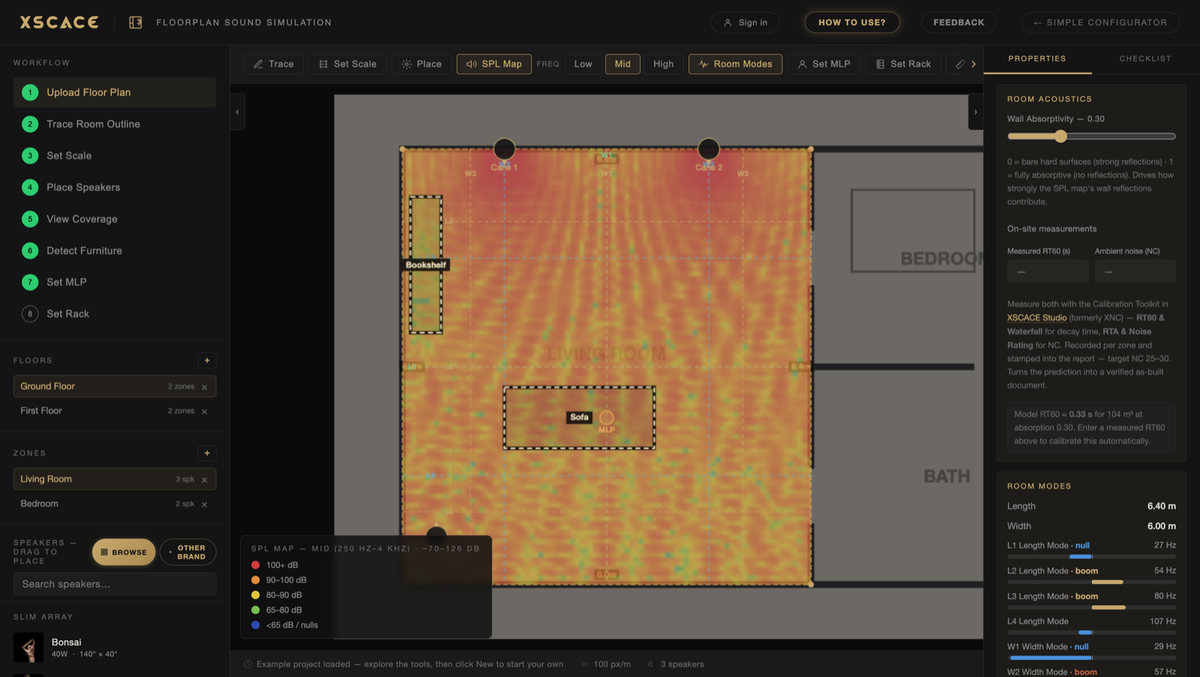
XSCACE Floorplan Sound Simulation takes a plan from trace to bill of quantities in the browser. For a room like this the outputs that matter are:
Coverage checked table by table, so no seat is the bad seat
Room modes located before the fit-out covers the structure
A bill of quantities the operator can price against
Controlled
Day-to-day control is XSCACE Controller on iOS and Android. It handles volume, EQ and grouping, and the streaming amplifiers also appear natively as AirPlay 2 and Spotify Connect targets, so the app is for control rather than for getting audio into the room.
Calibrated
The calibration toolkit inside XSCACE Studio measures what the room actually does — eleven instruments covering SPL, delay, levels, polarity, frequency response, THD, sub alignment, transfer function, RT60, RTA and export, free on macOS. Here the ones that earn their place are:
RTA noise rating, NC-15 to NC-65, setting the level the system must clear once the room is full
SPL measured at each zone against the design target
RT60 to ISO 3382, showing whether hard surfaces need treating as well as covering
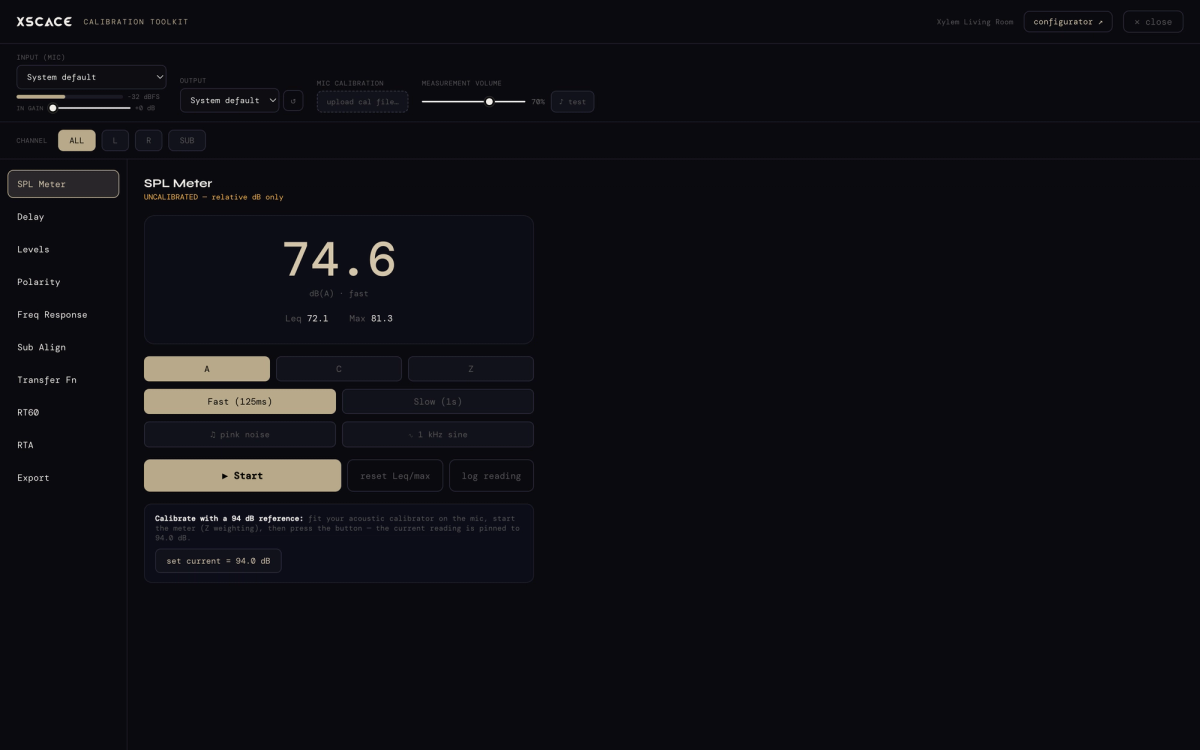
Cane runs down to 150Hz against Acacia 10 Powered's 35Hz, and the two records recommend different crossover points (200Hz and 300Hz). Which suits the room is a measurement, not a preference.